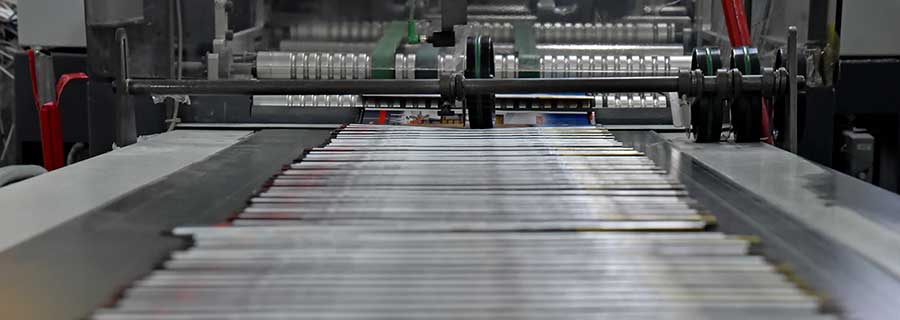
Once the graphic design is finished, we must take into account certain very important considerations so that the final art, once printed, looks in its greatest splendor and as we imagine it. To do this, we offer you a series of 7 basic tips that will make your designs perfectly printed.
A) Set page size and bleed correctly: The artwork must be made exclusively for the page size on which it is to be printed. Never enlarge an existing design to a larger size because it will lose quality unless it is vector graphics.
The bleeds are an excess of design that is left on the edges of the sheet so that when cutting do not miss its original design. So be sure to leave at least 5mm out of the margins so that once you cut the print, your central design will not be affected. Remember to indicate the cut marks on each corner to give more information to the person who will print your work where you have to cut.
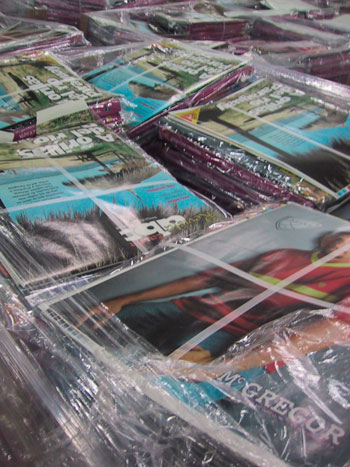
B) Take care of the quality of photographs and images: If your graphic design includes photographs or some kind of image in bit format, make sure it is at a suitable resolution. If your work is going to be printed in offset you should take care that the images (and the final file) are 300dpi. Note: If you are going to print in laser it is always better that it is also 300dpi but 200dpi is also acceptable. On the other hand, desktop printers print correctly at 72dpi.
C) Provide original images or editable file: In case there is any problem with your
final graphic design, the printer can solve the problem for you. To do this, you can include a folder with the original images or your PSD in layers so that it can be modified or adjusted if necessary. Note: This tip is not an excuse for you anyway, check your final graphic design (as many times as necessary) before it is printed.
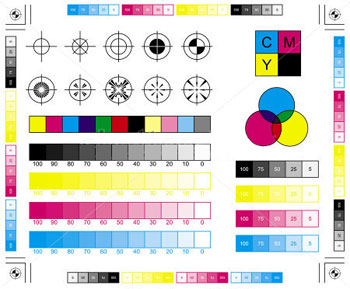
D) Deliver the final file to CMYK: Make sure your file is in CMYK format. A printer can not interpret a file if it is not in this format since it works with the 4 basic inks: C = Cyan
M = Magenta
Y = Yellow
K = Black
Note: In case you are going to print in laser, you can send your file in CMYK just like RGB.
E) Define the colors correctly: The fundamental tool for a graphic designer is a Pantone cards. Particularly when using full colors, be sure to check their composition and guiding themselves with the color catalog provided by the Pantone cards as you can know in advance how "printed" that color will be. Pantone Cards are not usually cheap, but it is a mandatory investment for any graphic designer who works with print jobs.
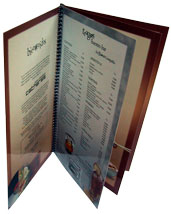
F) Include a test print: It is a good idea to print the final artwork and attach it to the file in your home / studio. In this way, the press can have a fairly close reference to how their work should look when printed.
Note: This step can also help you to detect errors that are difficult to perceive on the screen.
G) Include all sources: If your work is a catalog, magazine, or some graphic design that contains a severe amount of fonts, do not forget to create a folder and include them. This will ensure that each text looks as you expect it to.
Note: You can also convert all texts to curves or rasterize them and skip this step. On the other hand, remember that your texts will lose their editability in case of an error or spelling.
Well, that's all. If you need further advice or have any questions do not hesitate to contact us. Thank you. |